Many women face a common challenge every morning: nailing their eye makeup. Even with the best intentions, it’s easy to end up with crooked lines, uneven blending, or colors that just feel off. Since eyes are often the focal point of our faces, it’s worth the effort to make them stand out. Thankfully, a few simple steps can make a big difference. Let’s dive into an easy, everyday eye makeup routine that anyone can follow!
### Step 1: Eyebrows – The Secret to Framing Your Eyes
Eyebrows often get overlooked, but they play a huge role in shaping your overall look. A well-groomed and defined brow can dramatically enhance your eyes.
**What you need:** Tweezers and an eyebrow pencil.
– Start by tweezing stray hairs to clean up the shape of your brow.
– Lightly fill in your brows using short, feathery strokes with an eyebrow pencil for a natural result. Use your ring finger to gently smudge the color into your brows for a soft finish.
**Pro Tip:** When picking a pencil shade, go one shade darker than your hair if you’re blonde or red-haired. For brunettes, choose a shade lighter.
If shaping your eyebrows feels intimidating, consider getting them professionally shaped. A single appointment can give you a perfect shape that’s easy to maintain with occasional plucking.
—
### Step 2: Eye Base – The Key to Long-Lasting Makeup
If you’ve ever noticed your carefully applied eye makeup fading by midday, you’re not alone. A primer will solve this problem by locking everything in place.
**What you need:** Eye primer (cream or powder).
– Apply a primer to your eyelids before adding any other products. This evens out your skin tone, helps your eyeshadow stay put, and prevents creasing throughout the day.
Good news: primers are affordable and available in most stores or online!
—
### Step 3: Eye Makeup – Blend Like a Pro
The secret to flawless eyeshadow is working with two or three complementary shades. Proper blending can give your eyes depth, dimension, and a polished finish.
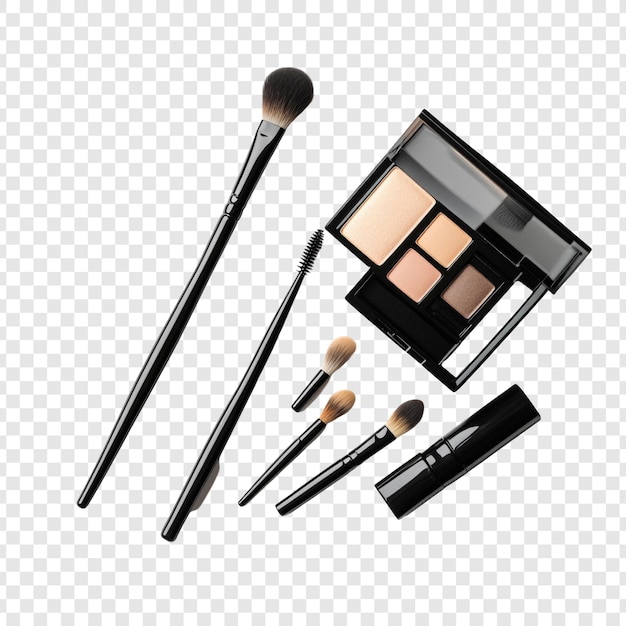
**What you need:** Flat-tipped and fluffy eyeshadow brushes, three shades of eyeshadow.
1. **Start with a neutral base shade:** Use a flat-tipped brush to sweep a light, neutral shade across your lid, blending it up to just below your eyebrows.
2. **Add a medium shade:** With a fluffy brush, apply a slightly darker color only on your eyelid. This brightens and adds depth.
3. **Optional third shade for definition:** If you’re using a darker shade, use a thin brush to trace it into the crease of your eyelid. This gives your eyes added dimension.
**Pro Tip:** Blend softly to avoid harsh lines. Focus on the outer edges of darker shades to keep your eyes looking open and wide. Use a clean brush to blend for a smooth, natural effect.
For extra pop, dab a light-colored eyeshadow in the inner corners of your eyes as a highlighter—this trick makes your eyes look bigger and brighter.
—
### Step 4: Eyeliner – Define Your Eyes with Precision
Eyeliner is the finishing touch that defines the shape of your eyes and can even make them appear larger.
**What you need:** Eyeliner (gel, pencil, or liquid).
– Draw a thin line along the base of your upper lashes, starting from the inner corner and working outward. Stay close to your lash line for the most natural look.
– For a softer, smoky effect, you can use a damp thin brush dipped in dark eyeshadow. Apply it over your eyeliner to gently smudge and soften the look.
**Pro Tip:** For a playful or dramatic flair, add a small wing or flick at the outer edge of your eyeliner. This elongates your eyes for a cat-eye effect.
—
### Step 5: Mascara – The Finishing Touch
Mascara is the ultimate game-changer for eye makeup. Even on its own, it can open your eyes and make them stand out.
**What you need:** Mascara and an eyelash curler.
1. Curl your lashes first to double their length and create a more lifted look. For extra hold, you can warm the curler slightly with a hairdryer for a few seconds (be cautious not to overheat).
2. Apply a thin coat of mascara, starting at the roots and slowly wiggling the wand as you move outward. Be sure to catch those tricky corner lashes!
**Pro Tip:** Skip applying mascara on the tops of your lashes—this can weigh them down. Focus on the underside for added length and volume.
—
By following this step-by-step guide, you can simplify your morning routine and enjoy flawless, long-lasting eye makeup every day. With practice, these tips and techniques will soon become second nature—no mid-day touch-ups required!